Mossy Rock
Guide by Dj0z.
This guide assumes you're making a paintcard. If you're not, ignore everything in here about tiling, and just follow the painting steps.
Step 1 - Rough shape
The base layer is very dark grey.
Start with simple squares only, by placing the green moss on layer 3 into patches.
Then surround those with the light grey on layer 2.
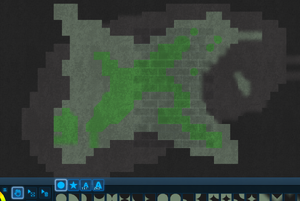
Surround that new shape with the medium grey on layer 1. You should have something like this :
Step 2 - Mossy look
On the moss layer, use smooth fades only to outline your shape. It should blend into the light grey layer without any hard edges. If you find this difficult, you can start with the smooth edges and then fill up a correct outline with the green squares instead.
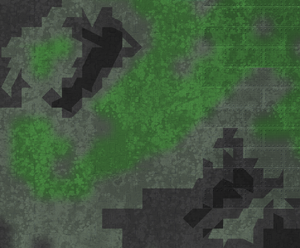
Then adjust the global texture of the paint of the base layer to get a natural look, like this :
Experiment with the colors to get a satisfying result. Try it at least over corridors and armor blocks. You can also do that after you're done painting.
Step 3 - Rock details & tiling
Now use the jagged edges usually at the bottom of the decals list to break the outlines on the grey layers into pointy bits, like unpolished broken rock.
Avoid using the same decal for any 2 adjacent tiles, as that would give what kills the natural look : symmetry, straight lines, and repeated patterns. You must avoid these at all costs.
You can also use smooth fades in a few places to add variety, but this gives more of a sand look and doesn't allow as much detail.
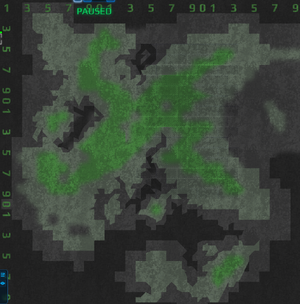
Start thinking about whether you want to make a tiling texture or not. Tiling means you can stick it above, below, to the left or to the right of itself with a nice, seamless transition instead of an obvious mismatch. If you want this, it helps to use the number decals in layer 3 to count the tiles in both directions, like so :
A basic technique is : if you paint anything past the last number in any direction, you can just copy-paste it on the other side of the texture to get tiling. It might take some adjustment.
Step 4 - Finish
If you painted less that a full default grid (120x120 tiles), and you made the visual tiling, you can now copy-paste each layer enough times to fill up the whole grid.
You should start with layer 3 (it has the numbers), descending. Then delete the helper numbers.
This will look nicer the better you are at making tiling visuals.
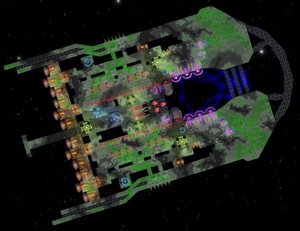
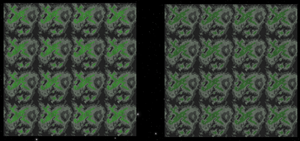
This is what I ended up with :
"Mossy rock paintcard", by Dj0z, on steam

